Design Your Graphic Tee Collection Process in 2026
- Vain.

- Jun 30
- 8 min read
The design graphic tee collection process is a structured sequence of creative and technical decisions that takes a concept from rough idea to print-ready, market-launched apparel. Mastering this process separates designers who build recognizable brands from those who produce scattered, forgettable catalogs. The core stages are concept development, design system creation, file preparation, and batch production. Each stage builds on the last, and skipping any one of them creates costly problems downstream. We built this guide to give fashion designers and entrepreneurs a clear, practical framework for creating focused, market-ready graphic tee collections in 2026.
What tools and prerequisites do you need to design a graphic tee collection?
The right tools and preparation define how smoothly your entire collection comes together. Without them, even strong creative ideas stall at the production stage.
Software and file standards
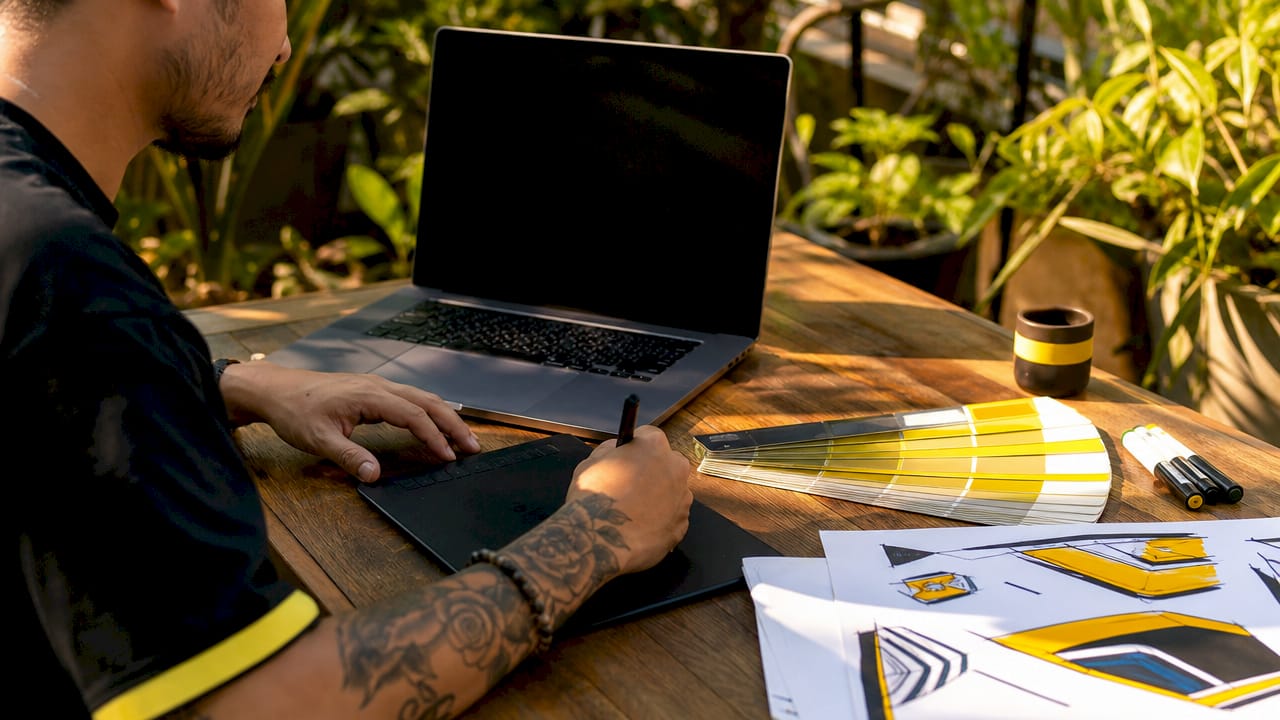
Vector graphic editors like Adobe Illustrator and Affinity Designer are the industry standard for creating print-ready artwork. They produce files that scale without quality loss, which is non-negotiable for screen printing. Mockup generators, whether standalone apps or browser-based platforms, let you visualize designs on garments before committing to production. Connecting these tools through automation platforms like Zapier creates a workflow where design output flows directly into mockup creation and listing publishing.
Professional screen printing requires artwork at 300 DPI resolution, correct CMYK or spot color separations, and transparent backgrounds saved as PDF or PNG files. Meeting these specs from the start prevents delays and extra charges from printer back-and-forth. Designers who submit files outside these standards often face reprints, color shifts, and missed launch windows.
Defining your buyer and building a design system
Before opening any design software, define your buyer persona clearly. Know their age range, aesthetic preferences, and the phrases or symbols that resonate with them. This focus shapes every creative decision that follows.
Building a design system means establishing consistent placement zones, a core typography set, and a defined color palette that runs across your entire collection. This system is what makes a collection feel like a collection rather than a random assortment of shirts.
Tool | Role in the process |
Adobe Illustrator / Affinity Designer | Vector artwork creation and file export |
Mockup generator | Visual validation before production |
Zapier | Connects design, mockup, and publishing tools |
Pantone color guide | Ensures print color accuracy |
PDF / PNG export | Delivers print-ready files to manufacturers |
Pro Tip: Lock your typography choices before designing your first graphic. Switching fonts mid-collection breaks visual cohesion and forces rework across every piece.
How do you develop a cohesive graphic tee collection concept?
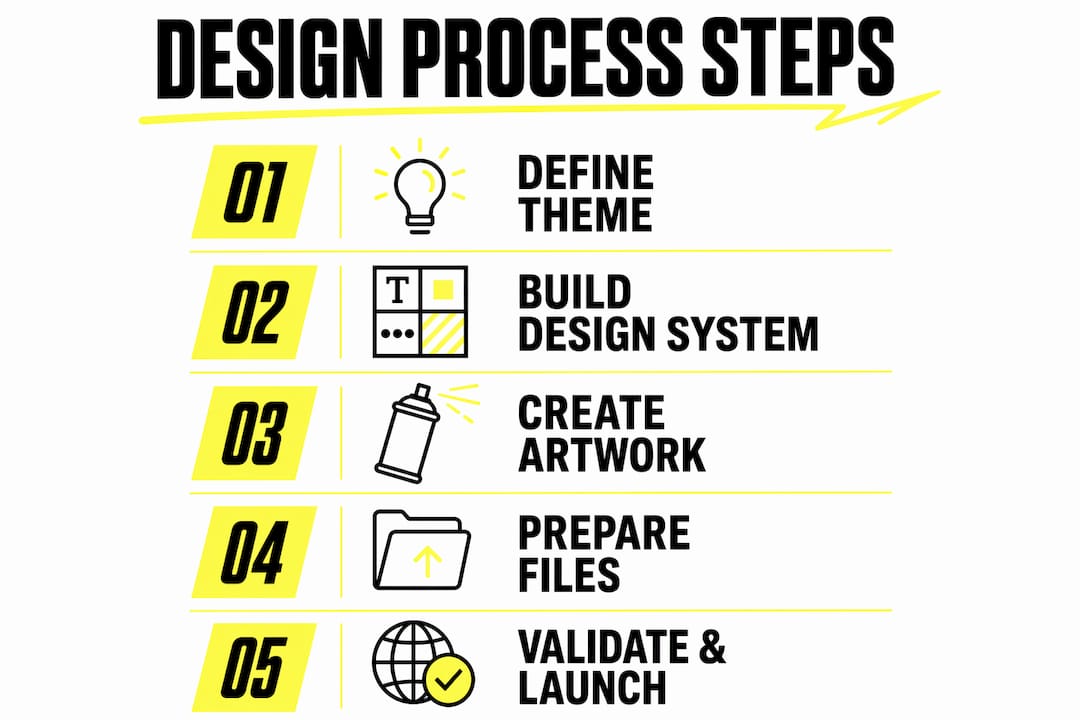
A cohesive collection starts with a single, clearly defined theme. That theme acts as a creative filter: if a design idea does not serve the theme, it does not belong in this collection. Designers who skip this step end up with a shop that looks disorganized and signals low brand confidence to buyers.
Defining the theme and core designs
Start by writing one sentence that describes what your collection stands for. “Quiet confidence for city commuters” is a theme. “Cool stuff” is not. From that sentence, develop 3–5 core designs that each express the theme from a different angle. These core pieces become the visual anchors of the collection.
Consumer demand in 2026 favors everyday-wearable designs with subtler graphics and minimalist placement over crowded full-front designs. Buyers need to recognize the message within two seconds on a mobile screen. This means your core designs should prioritize clarity and restraint over complexity.
Using style derivation to build variations
Style derivation is the practice of taking one core design and producing controlled variations from it. You might change the colorway, swap a word or phrase, or shift the placement from chest to sleeve. Each variation feels fresh while staying visually connected to the original. This method lets you build a full collection efficiently without starting from scratch for every piece.
Create your core design in full detail.
Duplicate the file and adjust one variable: color, phrase, or placement.
Test each variation against your buyer persona description.
Keep only the variations that pass the two-second recognition test.
Group related variations into sub-themes within the collection.
Automation tools can generate a 20-design collection in approximately 90 minutes when your design system is already in place. That speed is only possible because the system does the structural thinking in advance.
Pro Tip: Write all your phrase variations in a spreadsheet before designing anything. Seeing them together reveals duplicates, weak ideas, and gaps in your theme faster than any visual review.
What are best practices for preparing print-ready graphic tee files?
File preparation is where creative work becomes production work. A design that looks perfect on screen can fail completely at the print stage if the file is not set up correctly.
Technical file requirements
Every print-ready file must meet these standards before leaving your hands:
Resolution: 300 DPI minimum at the final print size.
Color mode: CMYK for standard printing; Pantone spot colors for exact color matching.
Background: Transparent, with no white fill behind the artwork.
Format: PDF for vector artwork; PNG for raster elements with transparency.
Bleed and safe zones: Follow your printer’s specific template for placement boundaries.
Correct file setup prevents delays and extra charges from printer back-and-forth. Every revision cycle costs time and money, and most are avoidable with proper preparation upfront.
The production-proof callout document
A callout document is a single reference sheet that accompanies your print files. It specifies Pantone color codes, exact print placement coordinates, and the scale of each graphic element. This document removes ambiguity for printers and prevents unapproved artwork changes during production. Think of it as the contract between your creative vision and the physical product.
The callout document should also note the garment blank style and color you approved the design for. Printers sometimes substitute blanks without notice, and a documented spec gives you grounds to reject substitutions that affect the final look.
Pro Tip: Export a low-resolution JPEG of each design alongside your print files. Printers use these as quick visual references during setup, which reduces the chance of orientation or placement errors.
How do you validate designs and launch your collection in batches?
Validation before production saves money. Launching in focused batches saves your catalog from chaos.
Using mockups as a sales asset
Mockups answer the buyer’s primary question: “What will this actually look like on a shirt?” A strong mockup on a lifestyle background communicates fit, scale, and context in a single image. Automation tools integrated with e-commerce platforms reduce manual mockup work from hours to minutes per batch. That time savings compounds across a full collection launch.
Designers should target a click-through rate above 2% on mockup listings to confirm design appeal before scaling production. A CTR below that threshold signals a problem with either the design or the mockup presentation. Fix one variable at a time to identify the real issue.
Batch launch strategy
Launching in focused batches of 12–24 listings centered on a single theme improves market testing and shop coherence. A smaller, focused launch gives you clean data on what buyers respond to. Publishing many unfocused listings creates a chaotic shop and produces weak sales signals that are hard to interpret.
Follow this sequence for each batch launch:
Finalize all print-ready files and callout documents.
Generate mockups using your automated workflow.
Write listing copy that reflects your buyer persona’s language.
Publish the batch and monitor CTR and sales for the first two weeks.
Use that data to decide which designs to expand and which to retire.
Small batch launches let you test phrases, colors, and personalization options efficiently without cluttering your catalog. The data from each batch becomes the brief for the next one.
Pro Tip: Pin your top-performing design from each batch at the top of your shop page. Buyers who land on a strong first impression browse longer and convert at higher rates.
Common challenges in the graphic tee production process
Every designer hits obstacles. Knowing the common ones in advance lets you move through them faster.
The most frequent problem is submitting files that a printer calls “print-ready” but are not. This happens when designers export from raster-based software without checking resolution at final print size, or when they forget to flatten transparency layers. Always open your exported file in a fresh document and check it against your spec sheet before sending it.
Color accuracy is the second major challenge. Screen colors and print colors are fundamentally different systems. CMYK printing cannot reproduce every RGB color you see on screen. Build your palette from Pantone references from the start, and always request a physical proof before approving a full production run.
Garment blank quality significantly impacts perceived product value. Poor blanks undercut even high-quality graphics. Premium blanks enable premium pricing and customer loyalty. Choosing the right blank is a brand decision, not just a cost decision.
“The garment is the canvas. A weak canvas makes even a masterpiece look ordinary.”
Mobile thumbnail clarity is a challenge that many designers overlook until launch day. A design that reads beautifully at full size can become an unreadable blur at 150 pixels wide. Test every design at thumbnail scale before finalizing it.
Pro Tip: When communicating with manufacturers, send annotated photos alongside your callout document. Visual annotations eliminate language barriers and reduce the chance of production errors.
Key takeaways
The design graphic tee collection process succeeds when concept clarity, technical file rigor, and batch launch discipline work together from the first sketch to the final listing.
Point | Details |
Define your theme first | A one-sentence theme filters every design decision and keeps collections cohesive. |
Meet print file standards | 300 DPI, CMYK, and transparent backgrounds prevent costly reprints and delays. |
Use a callout document | Specify Pantone codes, placement, and scale to remove printer ambiguity. |
Launch in focused batches | 12–24 listings per theme produces clean market data and a coherent shop. |
Choose premium blanks | Garment quality shapes buyer perception and supports premium pricing. |
What I’ve learned from watching collections succeed and fail
The designers who build lasting graphic tee brands share one habit: they treat the process as a system, not a series of one-off creative moments. I’ve watched talented artists launch beautiful designs that sold nothing because the file prep was wrong, the mockups were flat, or the batch was too scattered to tell a coherent story to buyers.
The automation piece is where I see the most resistance. Designers often feel that connecting Zapier to their mockup workflow removes the “craft” from the process. It does not. It removes the repetitive labor, which is exactly what you want to remove. The craft lives in the concept, the theme, and the design system. The automation just gets those decisions in front of buyers faster.
The shift toward minimalist, everyday-wearable graphics is real and it is accelerating. Buyers in 2026 are not looking for shirts that shout. They are looking for pieces that feel personal and considered. That shift actually favors designers who invest in strong typography in apparel design and restrained composition over those chasing trend-heavy, maximalist graphics.
My honest advice: spend twice as long on your design system as you think you need to. The upfront investment pays back every time you sit down to create a new batch, because the structural decisions are already made.
— Neville
Vainnewyork and your next graphic tee collection
Turning a well-developed collection concept into a physical product requires the right creative partners and quality materials. Vainnewyork exists at the intersection of creative direction and production, supporting designers and entrepreneurs who want their work to exist in the world with intention and craft.
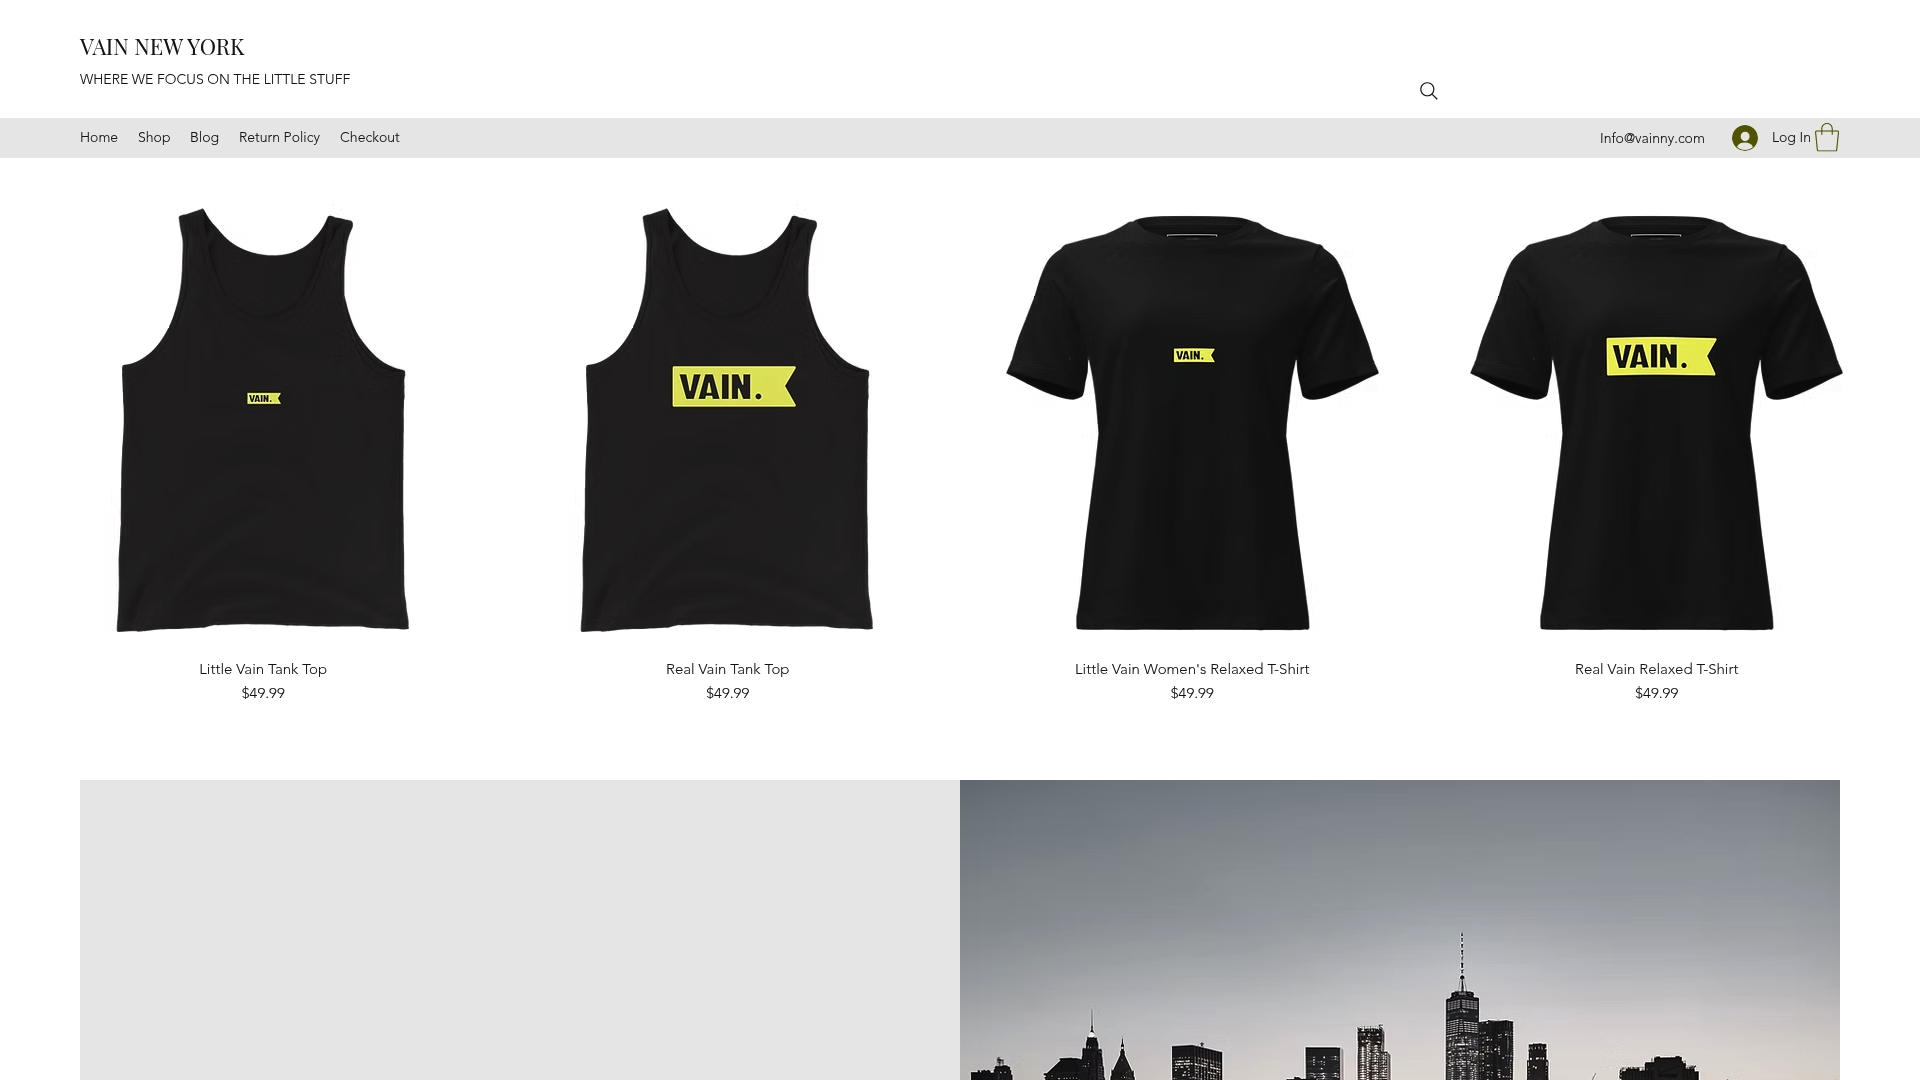
The Vainnewyork shop offers curated apparel that demonstrates what thoughtful blank selection and considered design look like at the finished product level. Whether you are seeking inspiration for your own collection or exploring collaboration opportunities, the shop reflects the standard that Vainnewyork holds for every piece it produces. For designers ready to move from concept to tangible product, it is a strong next step.
FAQ
What file format is best for graphic tee printing?
PDF and PNG are the standard formats for print-ready graphic tee files. PDF works best for vector artwork, while PNG handles raster elements with transparent backgrounds.
How many designs should a first graphic tee collection include?
A first collection of 12–24 designs centered on a single theme gives you enough variety to test market response without creating catalog confusion.
What does a callout document include?
A callout document specifies Pantone color codes, print placement coordinates, and graphic scale. It accompanies your print files and prevents unapproved changes during production.
How do you validate a graphic tee design before production?
Publish mockup listings and monitor click-through rate. A CTR above 2% indicates strong design appeal and justifies moving to production.
Why does garment blank quality matter for a graphic tee brand?
The blank is the foundation of the finished product. Premium blanks signal quality to buyers, support higher price points, and reduce return rates caused by poor fit or fabric.
Recommended
Comments