Sticker Design Ideas That Turn Creative Prompts Into Merch


Pick your sticker’s purpose first, whether that’s brand promotion, merch, or personal flair, then choose a simple shape and durable material before you touch a design tool. From there, the fastest path from idea to finished sticker is a free template in Adobe Express or Canva, where you can mock up a concept in minutes and test how it reads at actual size.
TL;DR:
Small designs need bold shapes, sturdy type, and outlines; test contrast on light and dark surfaces, and keep key details inside safe margins.
Paper stickers suit indoor packaging but tear or fade with moisture; use waterproof vinyl with laminate for drinkware, cars, or outdoor gear.
Choose DIY for fewer than 50 stickers, prototypes, or existing cutting equipment; custom printing suits bulk orders and specialty finishes, with a few days’ lead time.
Choose die cut for standalone stickers with a clean silhouette, and kiss cut for multi sticker sheets whose backing stays intact for peeling.
Export artwork at 300 DPI or higher in CMYK, and keep cut line layers separate so the printer can process the file correctly.
Table of Contents
1. Sticker design ideas organized by use and theme
Stickers work best when the concept matches the surface it will live on. We find it helps to think in categories first, then narrow to a specific prompt within whichever one fits your goal.
Logo and brand stickers turn your mark into something people choose to display. Try a simplified icon version of your logo, a wordmark in your brand’s signature color, a die-cut badge with your tagline, or a sticker that only works when paired with your packaging. These do best as die-cut shapes since a clean silhouette reads as more polished on a laptop or water bottle.
Cute and aesthetic stickers are the backbone of the sticker economy, built around characters, mascots, and mood. Think a chibi version of your mascot, a pastel-palette flower cluster, a wavy “retro sunset” badge, a tiny animal in a cup of coffee, or a holographic foil accent on a simple shape.
Fandom and pop culture stickers tap into shared references without copying protected art. Consider a hand-lettered quote from a popular genre, an inside-joke phrase from your community, a parody badge in a recognizable visual style, or a minimalist tribute icon.
Seasonal and holiday stickers give you a reason to refresh your catalog regularly. A pumpkin with your logo worked into the stem, a snowflake pattern in brand colors, a “new year, new drop” badge, or a summer sticker pack timed to a product launch all work well as limited runs.
Functional labels solve a problem while still carrying your design sense. Address labels, jar and container labels, packaging seals, care instruction stickers, and “handmade by” tags fall here, and kiss-cut sheets usually make more sense since the backing stays intact for easy peeling.
Collectible series stickers encourage repeat engagement. A numbered set of characters, a city or neighborhood series, a “collect all four” seasonal drop, or a loyalty-reward sticker that changes every quarter all build anticipation.
Motivational and typography stickers rely on bold type and a clean layout rather than illustration. A single word in a condensed font, a short phrase stacked in two lines, a quote wrapped in a circle badge, or a minimalist line-art frame around text all travel well at small sizes.
Niche hobby stickers speak directly to a specific community: a plant-care checklist, a gear-head decal for a car or bike, a book-lover’s “currently reading” tag, or a musician’s setlist-style badge.
A handful of practical ideas worth trying across any category:
A “sticker of the month” concept tied to a subscription or newsletter signup.
A QR-code sticker that links to a playlist, menu, or behind-the-scenes video.
A sticker pack bundled free with a merchandise order over a set price.
A glow-in-the-dark or UV-reactive variant of an existing design for novelty appeal.
According to a Shopify roundup of sticker design options, brands commonly lean on themes like logo marks, seasonal drops, pet and motivational art, laptop-friendly aesthetics, and numbered collectible series because they’re simple to produce and easy for fans to collect and display.
2. Design basics that keep small stickers looking sharp
A sticker idea only works if it survives being shrunk down to two or three inches. A few rules keep that transition clean.
Simplify before you shrink. Fine details, thin serif strokes, and tiny text disappear at small scale, so reduce your artwork to its boldest shapes before finalizing size.
Choose typefaces with weight. Bold, rounded, or chunky sans-serif fonts hold up better than thin or script fonts once printed small.
Add outlines for contrast. A white or black stroke around text and characters helps a design separate from busy backgrounds like laptops or water bottles.
Test your palette on light and dark surfaces. A design that looks great on white paper can disappear on a black tumbler, so check contrast both ways before ordering.
Build in bleed and safe zones. Keep text and key details at least a few millimeters from the edge, and extend background color past the cut line so nothing gets clipped during die-cutting.
If the design still reads clearly that small, it will hold up at full size too.*
3. Materials and finishes: pick the right paper, vinyl, and laminate
Material choice depends almost entirely on where the sticker will live. Paper stickers are the cheapest option and fine for indoor use like packaging seals or gift tags, but they tear and fade with moisture. Water-resistant paper holds up slightly better but still isn’t built for daily handling or weather exposure.

Waterproof vinyl paired with a laminate layer is the standard for stickers that need to survive water bottles, cars, or outdoor gear. Printable waterproof vinyl plus a protective laminate is the reliable approach for producing long-lasting, water-resistant stickers, especially when working with a home cutting machine, according to a guide on making waterproof stickers.
A few finish notes worth keeping in mind:
Gloss makes colors pop and works well for bold, graphic designs.
Matte gives a softer, more premium feel and resists fingerprint smudging.
Clear finishes let the surface underneath show through, which works for minimalist logos or window decals.
Factory-coated waterproof vinyl skips the lamination step entirely and is worth it for larger orders.
UV-resistant laminate helps outdoor stickers resist fading from sun exposure over time.
Laser printers produce more inherently water-resistant output than inkjet because toner fuses to the material rather than sitting on top of it, which is why production guides recommend lamination for inkjet prints specifically, while laser output can sometimes skip that step for light use.
4. DIY versus custom printing: and die-cut versus kiss-cut explained
The right production method comes down to quantity, budget, and how polished the final product needs to look. Choosing between DIY printing and custom printing depends on quantity, budget, required durability, and finishes, with professional printing suited to durable, specialty finishes and larger quantities, while home printing fits small runs and prototyping, according to Avery’s guidance on personalized stickers.
Use this quick checklist to decide:
Choose DIY when you need fewer than 50 stickers, you’re testing a concept, or you already own a cutting machine and printable vinyl.
Choose custom printing when you need bulk quantities, specialty finishes like holographic or glow effects, or consistent quality across hundreds of units.
Choose die-cut for a single sticker that needs a clean, professional silhouette, like a laptop decal or standalone brand badge.
Choose kiss-cut for sheets of multiple stickers, since the backing stays intact and each piece peels off individually.
Die-cut stickers are cut to the exact shape of the design for a polished standalone look, while kiss-cut stickers keep the backing paper whole, making them better suited to sheets and bulk distribution. A home workflow typically runs: print on compatible media, laminate if using inkjet, then cut with a precision blade or cutting machine. Custom orders trade a few days of lead time for consistency and finish options that are hard to replicate at home.
5. Design tools, templates, and starter resources
You don’t need professional software to start. Free template platforms and design-maker tools reduce the time it takes to go from idea to mockup, which matters most when testing multiple concepts before committing to a print run.
Canva and Adobe Express both offer free sticker templates with customizable layouts, letting non-designers produce print-ready art without starting from a blank canvas.
Illustrator suits clean, scalable logo work and typography where crisp vector edges matter.
Procreate fits hand-drawn or painterly styles where texture and brush work carry the design.
Export at 300 DPI minimum, use CMYK color mode for print accuracy, and keep cut-line layers separate so your printer can read them correctly.
Respect copyright on any reference art or fonts you use, and keep your file layers labeled so a print shop can process your order without back-and-forth.
6. How brands turn sticker ideas into merchandise: a practical checklist
We approach every sticker concept the same way we approach any merch piece: by considering the end user, distribution method, and material constraints. A sticker meant for a product box needs different proportions than one meant to travel on a laptop lid.
Our working checklist for productizing a sticker idea looks like this:
Validate the concept with a quick mockup before committing to a print run.
Match material to use case, waterproof vinyl for anything going outdoors or on drinkware.
Proof the file for color accuracy and bleed before sending it to print.
Check every finished batch for bubble-free application, since trapped air under vinyl is the most common flaw in a finished sticker.
Package stickers flat and protected so they arrive ready to use, not creased.
For more on building a full merch line around ideas like these, our guide to merchandise design best practices for brand managers walks through the same framework in more depth.
7. A sample creative brief for a sticker drop

Say a client wants to grow repeat visits to a retail pop-up over a single season. We’d frame the brief around a four-sticker collectible series, one released per month, each tied to a different in-store moment, distributed free with purchase to encourage return visits.
That goal shapes every material decision: waterproof vinyl with a matte laminate for durability in bags and on water bottles, die-cut shapes for a premium single-sticker feel, and a production schedule that staggers printing so each release stays a surprise.
— Vain.
8. How Vain. can help bring your sticker idea to life
Whether you’re testing a concept at home or ready to run a full merch program, we offer the production support that bridges the gap between a Canva mockup and a finished product. We handle creative direction, print production, and quality control to ensure the finished sticker looks consistent with the design file.
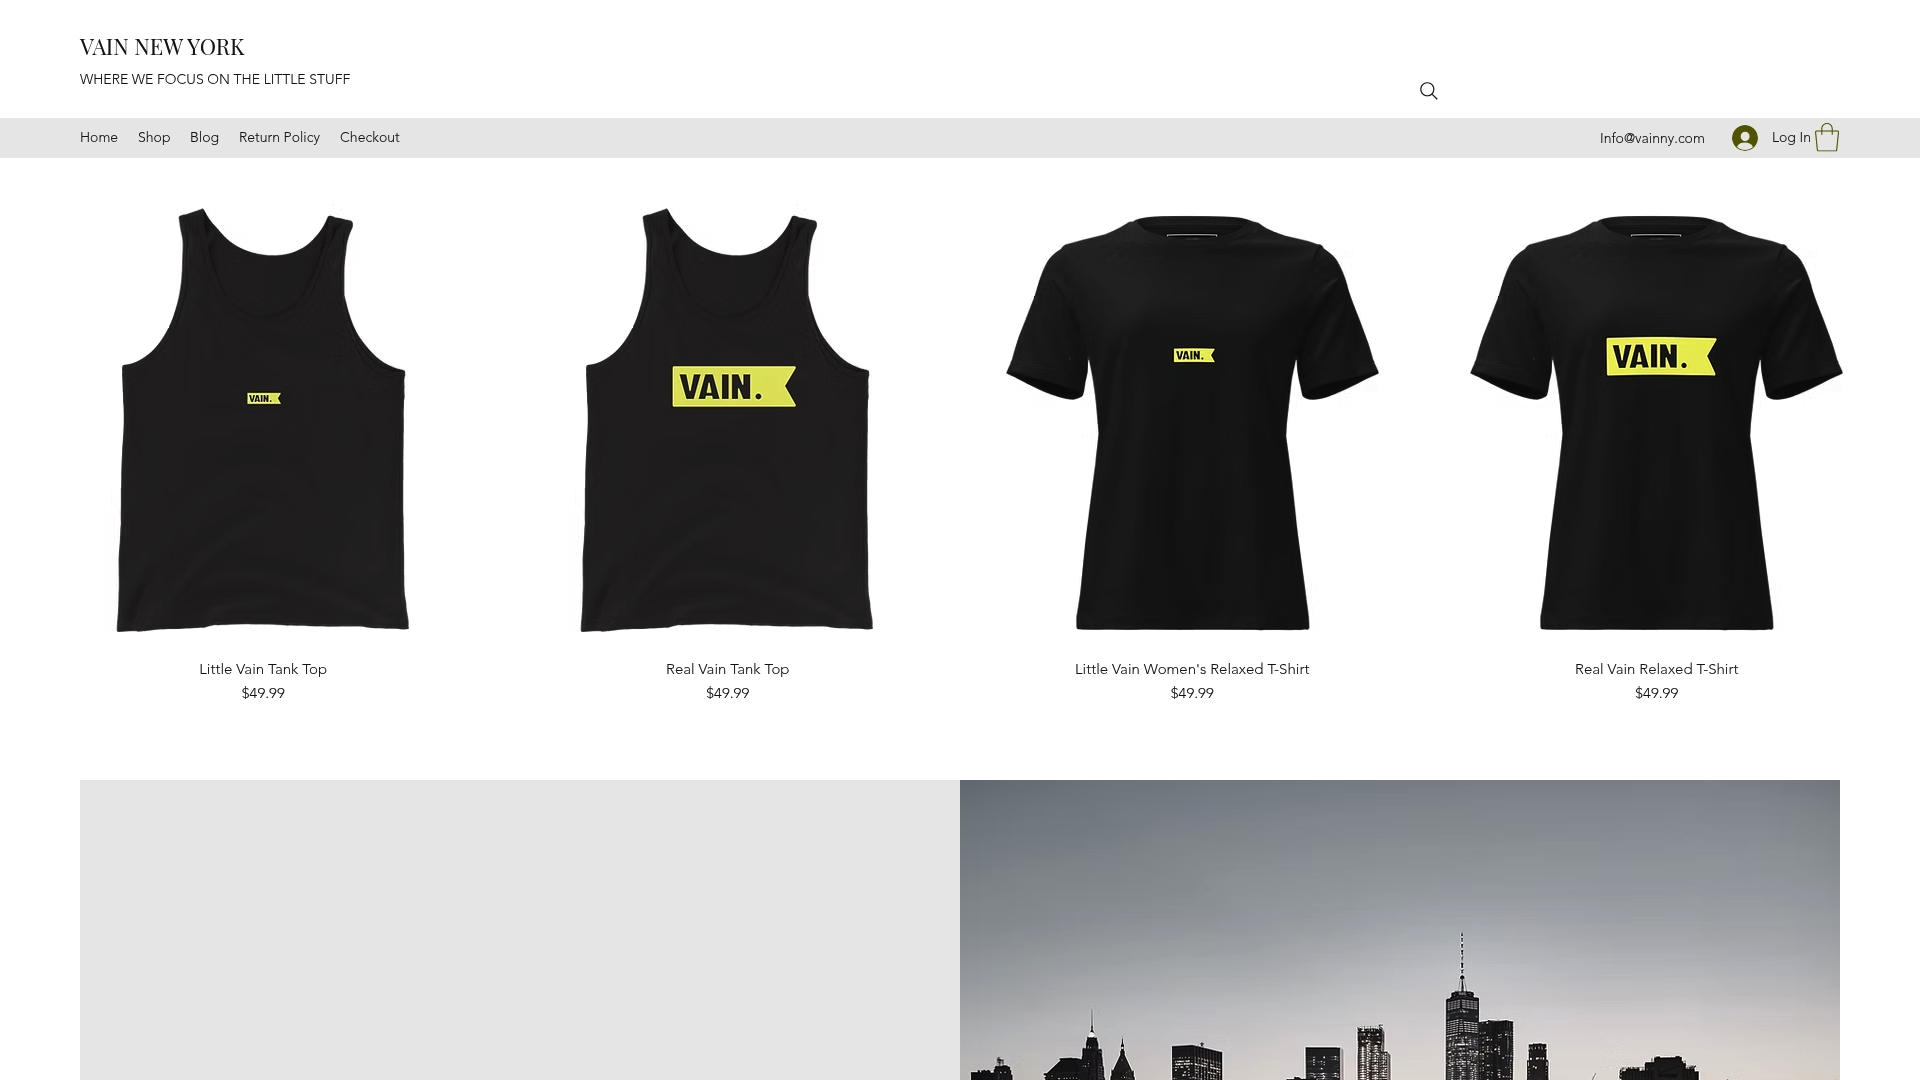
Choosing us over a DIY run makes the most sense once you’re scaling past a handful of prototypes, need a specialty finish, or want a sticker concept folded into a broader merch strategy. We’ve outlined that broader thinking in our piece on why community merchandise builds culture and belonging, which covers how a well-placed sticker fits into a bigger brand presence. For experiential campaigns where stickers show up alongside physical displays, our partners at King Sixteen’s guide to custom POP displays cover the physical marketing side well.
What you get | Why it matters |
Creative direction and strategy | Ensures the sticker concept fits your brand and audience, not just the trend |
Print production and proofing | Catches color and bleed issues before a full run ships |
Quality checks | Helps maintain a clean appearance on any surface |
Ready to move from idea to finished product? Visit our landing page to see our full range of creative and production services, or browse our Studio Hoodie and other merch lines for an example of how we carry a concept from design file to finished product.
FAQ
Are there free sticker templates available?
Yes, platforms like Adobe Express and Canva offer free, customizable sticker templates that let you create print-ready designs without starting from scratch. Both let you export files suited for home printing or sending to a custom print shop.
What’s the difference between die-cut and kiss-cut stickers?
Die-cut stickers are cut precisely around the shape of the design, giving a clean, standalone look best for single stickers like laptop decals. Kiss-cut stickers keep the backing sheet intact around a cut design, which works better for multi-sticker sheets.
Should I print stickers at home or order them custom?
It depends on quantity and finish needs: home printing fits small runs and quick prototypes, while custom printing suits larger batches and specialty finishes like waterproof lamination or holographic effects. Budget and how polished you need the final product to look are the deciding factors.
How do I make a sticker waterproof?
The most reliable home method is printing on waterproof vinyl and adding a protective laminate layer, which is especially important if you’re using an inkjet printer. Factory-coated waterproof vinyl from a custom print shop skips the lamination step and works well for larger orders.
What makes a sticker design look professional?
Bold shapes, simplified details, and strong contrast against both light and dark surfaces are what separate a professional-looking sticker from a cluttered one. Leaving safe margins around text and planning your cut lines in advance also keeps the final product from looking clipped or crowded.
Sources
Recommended
Comments