Photography Tips That Actually Improve Your Photos
- Vain.

- Jul 9
- 8 min read
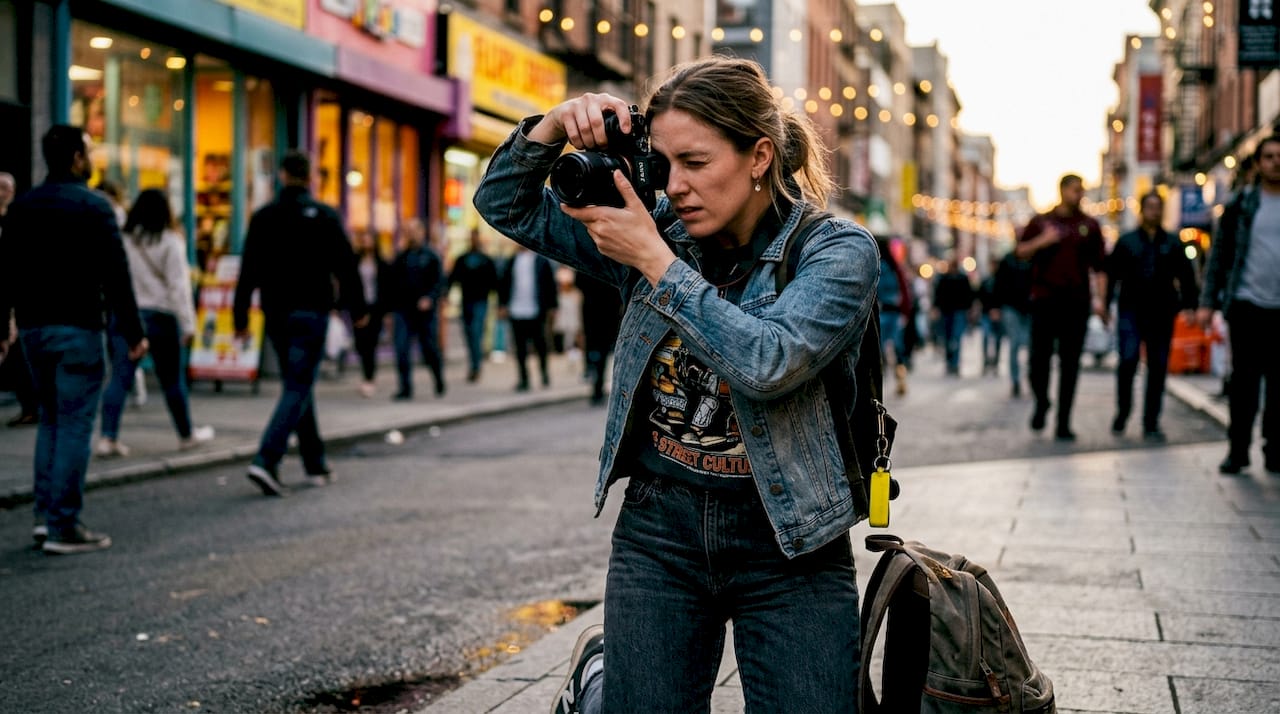
Photography tips are practical techniques and habits that help amateur photographers capture better images by mastering light, composition, and exposure. The fastest path to improvement runs through three foundational concepts: the Exposure Triangle, the Rule of Thirds, and deliberate light awareness. Experts at the Institute of Photography and resources like DIY Photography confirm these principles as the bedrock of skilled image-making in 2026. You do not need expensive gear to start. You need the right habits, a clear understanding of how your camera sees light, and the patience to practice with intention.
1. Master the exposure triangle first
The Exposure Triangle is the single most important concept in photography. It describes the relationship between aperture, shutter speed, and ISO, and how each one controls the brightness and creative character of your image.
Aperture controls how much light enters the lens and determines depth of field. A wide aperture like f/1.8 blurs the background beautifully, while a narrow aperture like f/11 keeps everything sharp. Shutter speed controls how long the sensor is exposed to light. Fast speeds freeze motion; slow speeds create blur. ISO controls the sensor’s sensitivity to light. Higher ISO values brighten dark scenes but introduce grain, called noise.
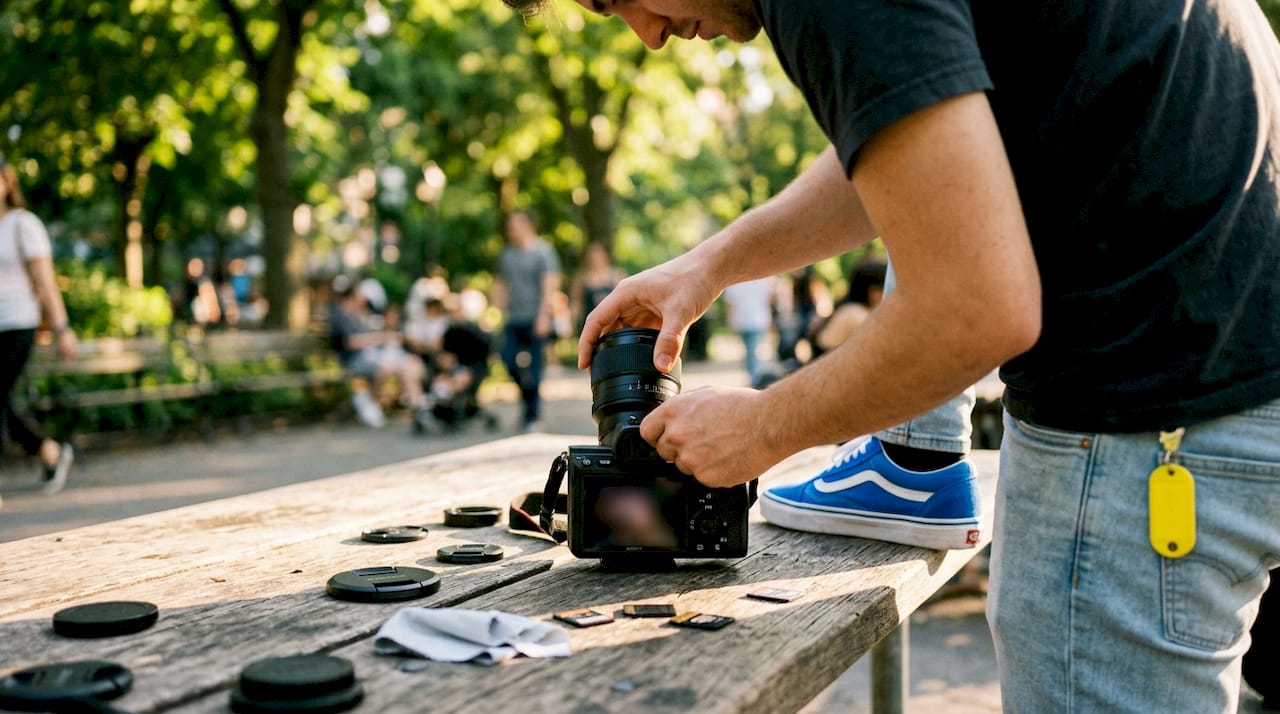
Pro Tip: Start in Aperture Priority mode. You set the aperture, and the camera handles shutter speed. This builds your understanding of depth of field without the pressure of controlling every variable at once.
Camera mode | Best for | Beginner friendliness |
Auto | Snapshots with no creative control | Very high |
Aperture Priority | Portraits, depth of field control | High |
Shutter Priority | Sports, moving subjects | High |
Manual | Full creative control | Low at first |
The goal is to move from Aperture Priority toward Manual as your confidence grows. Each step teaches you something new about how light and exposure interact.
2. Understand light before you touch your camera
Light is the primary element of every photograph. It shapes mood, reveals texture, and defines depth. No amount of post-processing fixes a poorly lit image.
Golden hour, the 30–60 minutes after sunrise and before sunset, produces warm, directional light that flatters nearly every subject. Blue hour, the brief window just before sunrise or after sunset, delivers cool, even light perfect for cityscapes and moody portraits. Harsh midday sun creates unflattering shadows and blown-out highlights. When you cannot avoid it, position your subject in open shade or use a 5-in-1 reflector to bounce softer light back onto their face.
Indoors, a north-facing window provides consistent, diffused natural light throughout the day. Most beginners fail to control light direction, which is the single biggest gap between amateur and professional-looking portraits. Even a simple window can produce painterly, Rembrandt-style lighting when you position your subject correctly.
Shoot during golden hour whenever possible for portraits and landscapes
Use shade as a natural diffuser in bright midday conditions
Avoid on-camera flash for portraits. Moving light off-camera adds dimension and drama
Reflect light with a white foam board if you do not own a reflector
Observe how light changes direction and quality throughout the day
Pro Tip: Before you raise your camera, spend 60 seconds studying where the light is coming from and what it is doing to your subject. That pause changes everything.
3. Improve composition with the rule of thirds and beyond
Composition is the art of arranging elements within your frame. The Rule of Thirds is the most reliable starting point. Enable your camera’s grid lines and place your subject at one of the four intersection points rather than dead center. The result feels more dynamic and natural to the eye.
Beyond the Rule of Thirds, several other principles shape strong images.
Composition technique | Visual effect | When to use it |
Rule of Thirds | Dynamic balance | Portraits, landscapes, most subjects |
Leading lines | Draws the eye through the frame | Roads, rivers, fences, architecture |
Symmetry | Stillness, order | Reflections, minimalist scenes |
Horizon placement | Emphasis on sky or ground | Landscape photography |
Diagonal lines | Energy and movement | Action shots, dramatic scenes |
Horizontal lines evoke stability, while diagonal lines convey energy. Centered symmetry works beautifully for reflections and minimalist compositions. Knowing these effects lets you choose a composition that matches the emotion you want to communicate.
A practical exercise: take 30 photos in one session focusing on a single compositional rule. Repeat this daily with a different rule each time. This kind of structured constraint builds your visual instincts faster than shooting randomly.
4. Shoot with intention, not volume
Deliberate shooting accelerates improvement far more than random practice. New photographers often shoot dozens of frames without stopping to observe light, framing, or subject placement. This habit feels productive but teaches very little.
Before pressing the shutter, ask yourself three questions. Where is the light coming from? What is the strongest element in this frame? What do I want the viewer to feel? This pause takes five seconds and transforms how you see.
The gap between your taste and your current ability is real and normal. You will see great photos and feel frustrated that yours do not match. That frustration is a sign your eye is developing faster than your technical skill. The solution is not better gear. It is more intentional repetitions.
Slow down and observe before shooting
Set one creative goal per session, such as “only shoot backlit subjects today”
Review your images critically after each session and note what worked
Revisit the same location with a different creative goal each time
Accept that bad photos are part of the process, not a sign of failure
Pro Tip: Delete nothing for the first month. Review your worst shots to understand exactly what went wrong with light, focus, or framing. Failure is your most honest teacher.
5. Learn to see light direction for portrait photography
Portrait photography lives and dies by light direction. Most beginners point their subject toward a light source and call it done. Professional portrait photographers think about the angle, quality, and ratio of light hitting the face.
The classic Rembrandt lighting pattern places the main light source at roughly 45 degrees to the side and slightly above the subject’s face. This creates a small triangle of light on the shadowed cheek, adding depth and drama. You can achieve this with a single window. Position your subject so the window light falls at an angle rather than straight on.
On-camera flash produces flat, unflattering light because it sits on the same axis as the lens. Moving the flash off-camera, even a few feet to the side, immediately adds dimension. The Pose, Light & Fire method used by working portrait photographers can produce professional results in under 30 seconds by combining a strong pose, deliberate light placement, and confident direction of the subject.
For beginners, a north-facing window and a white foam board reflector on the opposite side of the subject’s face is a free, effective portrait lighting setup. You can explore how professional studios approach apparel product photography to see how light control translates directly to commercial results.
6. Prioritize mastering your gear over buying new equipment
Mastering the camera you own is more effective than upgrading to new gear. This is the most repeated and most ignored advice in photography. A beginner with a five-year-old camera and a deep understanding of light will consistently outshoot someone with the latest body who has not learned the fundamentals.
The one upgrade that genuinely changes results early on is a fast prime lens. A 50mm f/1.8 lens typically costs $100–$250 and delivers sharper images, better low-light performance, and beautiful background blur that kit lenses cannot match. Better glass improves sharpness, contrast, and subject separation more than additional megapixels ever will.
Printing your photos is one of the most underused learning tools available. Physical prints force you to slow down and evaluate your images with more intention than scrolling through a screen. You notice focus issues, poor exposure, and weak composition far more clearly on paper.
Spend 30 days shooting only with your current camera before considering any purchase
Invest in a 50mm f/1.8 prime lens as your first upgrade
Print your best 10 images each month and critique them honestly
Learn your camera’s custom settings and assign frequently used functions to buttons
Use your smartphone camera seriously. It teaches composition without the distraction of settings
7. Build daily habits that compound your skill
Accepting that you will shoot many bad photos is the mindset shift that separates photographers who improve from those who plateau. Skill in photography compounds through repetition, reflection, and gradual goal-setting, not through inspiration alone.
Set small, specific goals for each week. One week, focus only on finding strong light. The next week, practice only leading lines. The week after, shoot only in manual mode. This kind of structured progression builds a complete skill set without overwhelming you.
Reviewing your work critically is as important as shooting. After each session, select your three best images and write one sentence about what made each one work. Over time, this practice sharpens your eye and makes your instincts more reliable. You can find more creative ideas and inspiration on the Vainnewyork blog to keep your practice fresh and motivated.
Key takeaways
The most effective photography improvement comes from mastering light, composition, and intentional practice, not from buying new gear.
Point | Details |
Master the Exposure Triangle | Learn aperture, shutter speed, and ISO in Aperture Priority before switching to Manual. |
Light quality defines the image | Shoot during golden hour and control light direction for portraits using window light or off-camera flash. |
Composition shapes emotion | Use the Rule of Thirds, leading lines, and diagonal lines to match the feeling you want to convey. |
Shoot with intention | Pause before every shot to assess light, framing, and subject before pressing the shutter. |
Skill beats gear | Master your current camera first; a 50mm f/1.8 prime lens is the one upgrade worth making early. |
What I have learned from years behind the lens
The single piece of advice I wish someone had given me early on is this: stop waiting for the perfect light and start studying the light you have. I spent months chasing golden hour and missing the extraordinary quality of overcast afternoon light, which is actually softer and more forgiving than most beginners realize.
The gap between taste and ability is real, and it is uncomfortable. I remember looking at my first 500 photos and feeling like none of them matched what I saw in my head. That feeling did not mean I lacked talent. It meant my eye was ahead of my hands. The only way through it is volume combined with reflection, not one without the other.
The tip I rarely see in beginner guides is this: revisit the same location at least five times with a different creative constraint each visit. Once for light only. Once for composition only. Once for a single subject. This practice taught me more about seeing than any tutorial ever did. The camera you carry matters far less than the questions you ask before you press the shutter.
— Neville
Creative style meets creative vision at Vainnewyork
Photography is ultimately about expressing a point of view, and at Vainnewyork, we believe that creative vision extends beyond the camera into every part of your life. Our shop brings together artistic products that celebrate bold, intentional aesthetics, the same values that make a great photograph.
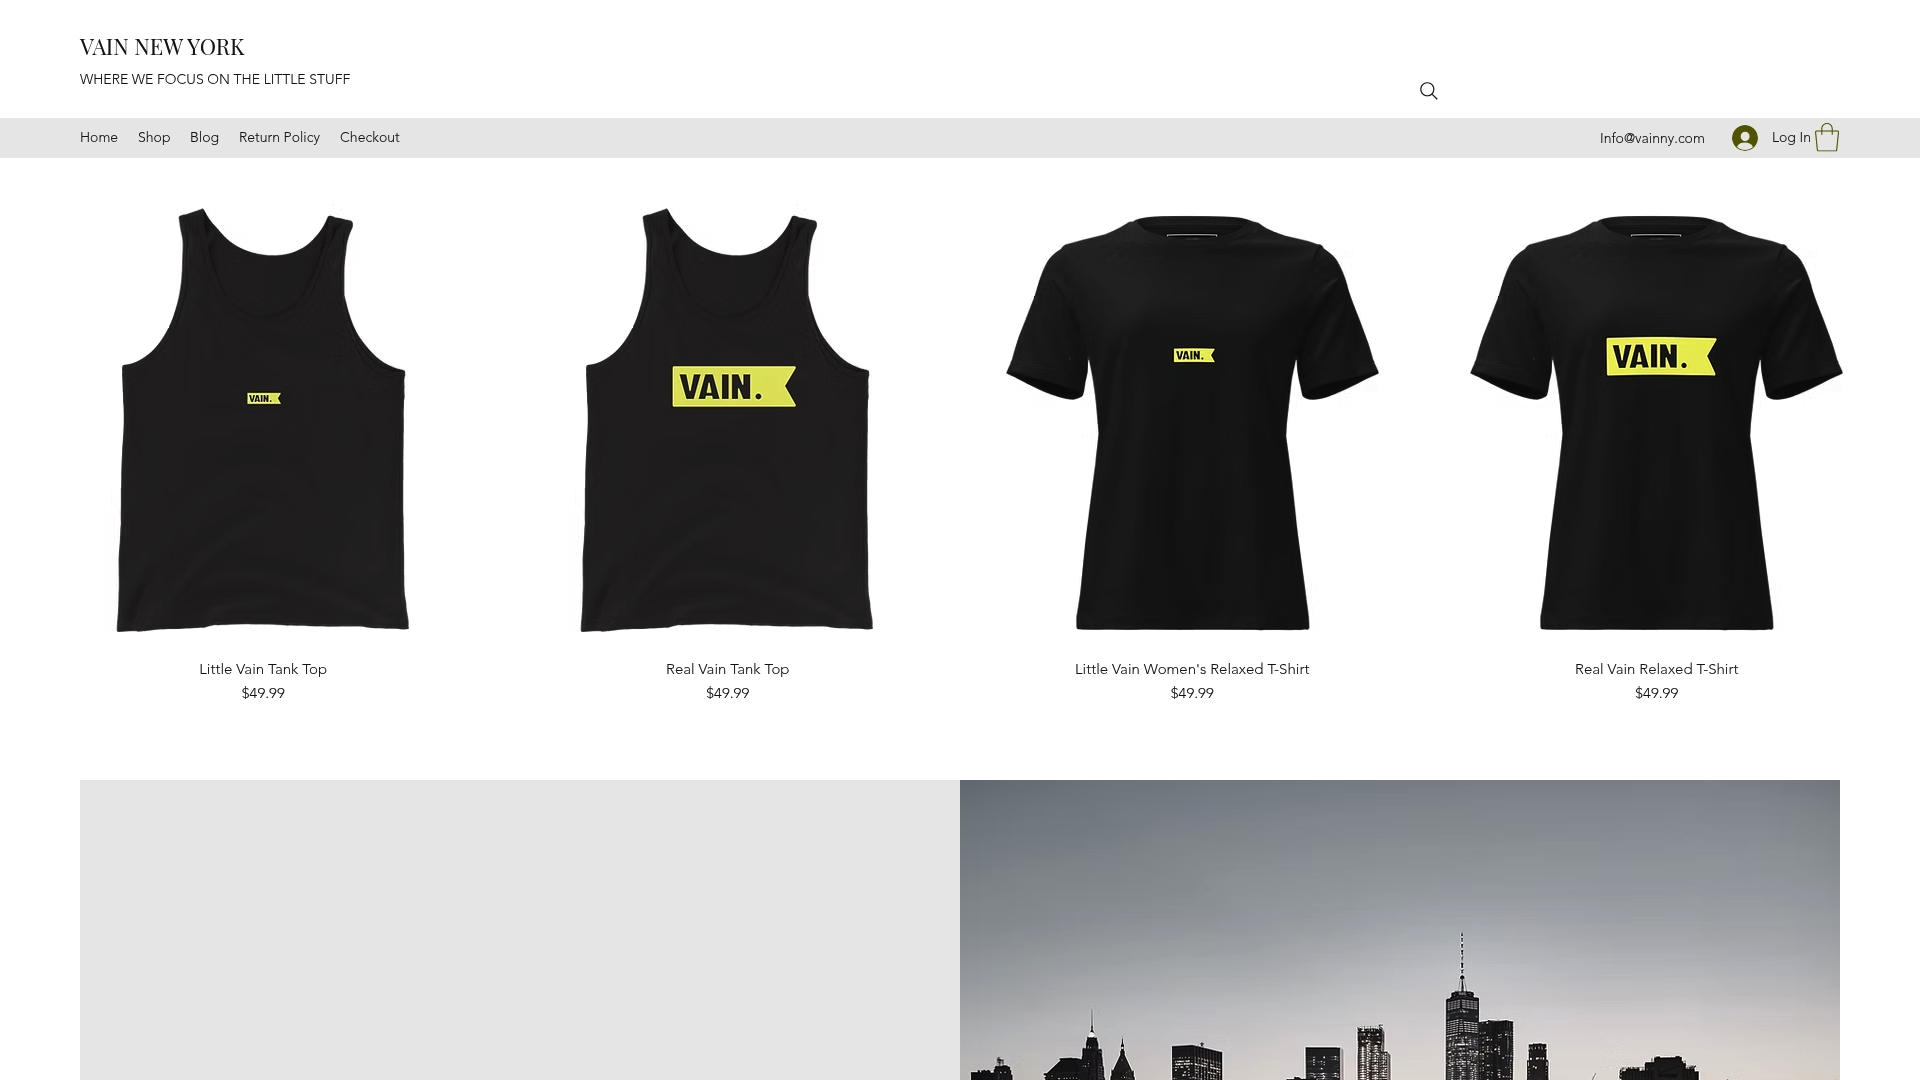
The Little Vain Auburn One-Piece Swimsuit is a perfect example of that philosophy: a piece designed with the same attention to color, form, and mood that you bring to your best shots. Browse the full Vainnewyork shop and find pieces that reflect the creative life you are building, one frame at a time.
FAQ
What is the Exposure Triangle in photography?
The Exposure Triangle describes the relationship between aperture, shutter speed, and ISO. Together, these three settings control image brightness and creative effects like depth of field and motion blur.
How do I improve my composition quickly?
Enable your camera’s grid lines and practice placing your subject at the Rule of Thirds intersection points. Shooting 30 focused frames per day on a single compositional rule builds visual instincts fast.
Is golden hour really that important for beginners?
Golden hour produces warm, directional light that flatters nearly every subject and forgives many technical mistakes. Shooting during this window is one of the fastest ways to improve the quality of your images.
Do I need a new camera to take better photos?
Mastering your current camera outperforms buying new gear at every beginner stage. The most effective early upgrade is a 50mm f/1.8 prime lens, which costs $100–$250 and improves sharpness and low-light performance significantly.
How often should I practice photography to improve?
Daily practice with a specific creative goal produces faster results than occasional long sessions. Even 20 minutes of intentional shooting focused on one technique, such as light direction or leading lines, compounds into real skill over weeks.
Recommended
Comments